Growing herbs indoors is a rewarding way to have fresh flavors right at your fingertips. Whether you have a spacious kitchen or a sunny windowsill, starting a small herb garden indoors can be both enjoyable and practical. This guide will walk you through everything you need to know to get started, from choosing the right herbs to caring for your plants.
Why Grow Herbs Indoors?
Indoor herb gardens are perfect for people who want fresh herbs without the need for outdoor space. They provide:
– Easy access to fresh ingredients for cooking
– A touch of greenery that brightens your home
– An educational and relaxing hobby
– Year-round gardening regardless of climate
Choosing the Right Herbs for Indoor Gardening
Some herbs thrive better indoors due to their size, light requirements, and climate preferences. Consider starting with:
– Basil: Great for sunny spots, ideal for Italian dishes
– Mint: Hardy plant, but keep in a separate pot to avoid spreading
– Parsley: Prefers moderate light, adds color and flavor
– Chives: Compact and easy to grow, suitable for beginners
– Thyme: Requires plenty of sunlight and well-drained soil
– Cilantro: Does well in cooler indoor temperatures
Materials You’ll Need
Before planting, gather these essentials:
– Small pots or containers with drainage holes
– Quality potting soil designed for herbs or vegetables
– Seeds or starter seedlings (available at nurseries or online)
– A sunny windowsill or grow lights
– Watering can or spray bottle
– Labels or markers for your pots
Step-by-Step Guide to Starting Your Herb Garden
1. Select Containers
Choose pots that are at least 4 to 6 inches deep with good drainage. Avoid containers without holes to prevent waterlogging and root rot.
2. Use the Right Soil
Herbs prefer well-draining soil. A potting mix designed for herbs or indoor plants usually works well. Avoid using garden soil as it can be too dense for indoor containers.
3. Plant Your Herbs
If starting from seeds:
– Follow seed packet instructions for planting depth.
– Plant multiple seeds since not all may germinate.
– Cover lightly with soil and water gently.
If using seedlings:
– Gently loosen roots before planting.
– Place in soil and pat down firmly to remove air pockets.
– Water immediately after planting.
4. Find the Ideal Location
Most herbs need at least 6 hours of sunlight daily. A south-facing window is often ideal. If natural light is limited, consider using grow lights set on a timer for 12–16 hours per day.
5. Water Properly
Water when the top inch of soil feels dry. Avoid overwatering to prevent root rot. Herbs like thyme and rosemary prefer soil that dries out slightly between waterings.
6. Maintain Your Herb Garden
– Fertilize: Use a balanced, water-soluble fertilizer every 4–6 weeks diluted to half strength.
– Prune regularly: Harvest by snipping leaves and stems frequently to encourage bushier growth.
– Rotate pots: Turn plants every few days for even growth.
– Check for pests: Keep an eye out for common indoor pests like aphids and spider mites.
Tips for Success
– Start small: Begin with 3–4 herbs that you use regularly.
– Use a spray bottle to mist herbs that prefer higher humidity, like basil.
– Avoid placing herbs near drafts or heating vents.
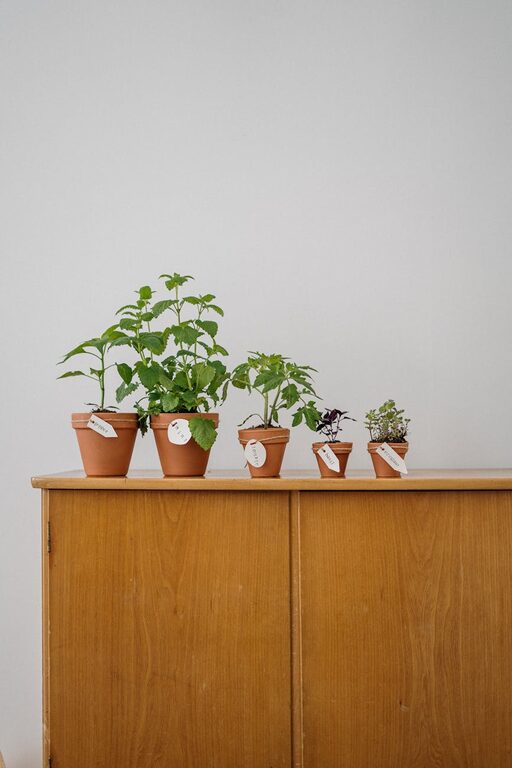
– Label each pot so you can identify your plants easily.
– Experiment with different herbs to see what grows best in your space.
Harvesting and Using Your Herbs
You can start harvesting herbs once they have grown several sets of leaves. Use clean scissors and cut just above a leaf node or stem junction. This helps the plant branch out and grow new shoots.
Fresh herbs can be used in cooking, teas, or as garnishes. You can also dry herbs by hanging small bundles upside down for later use.
Conclusion
Starting a small indoor herb garden is a fun and practical project that adds fresh flavors and greenery to your home. With just a few simple steps and some care, you can enjoy your own mini kitchen garden all year long. Happy gardening!